
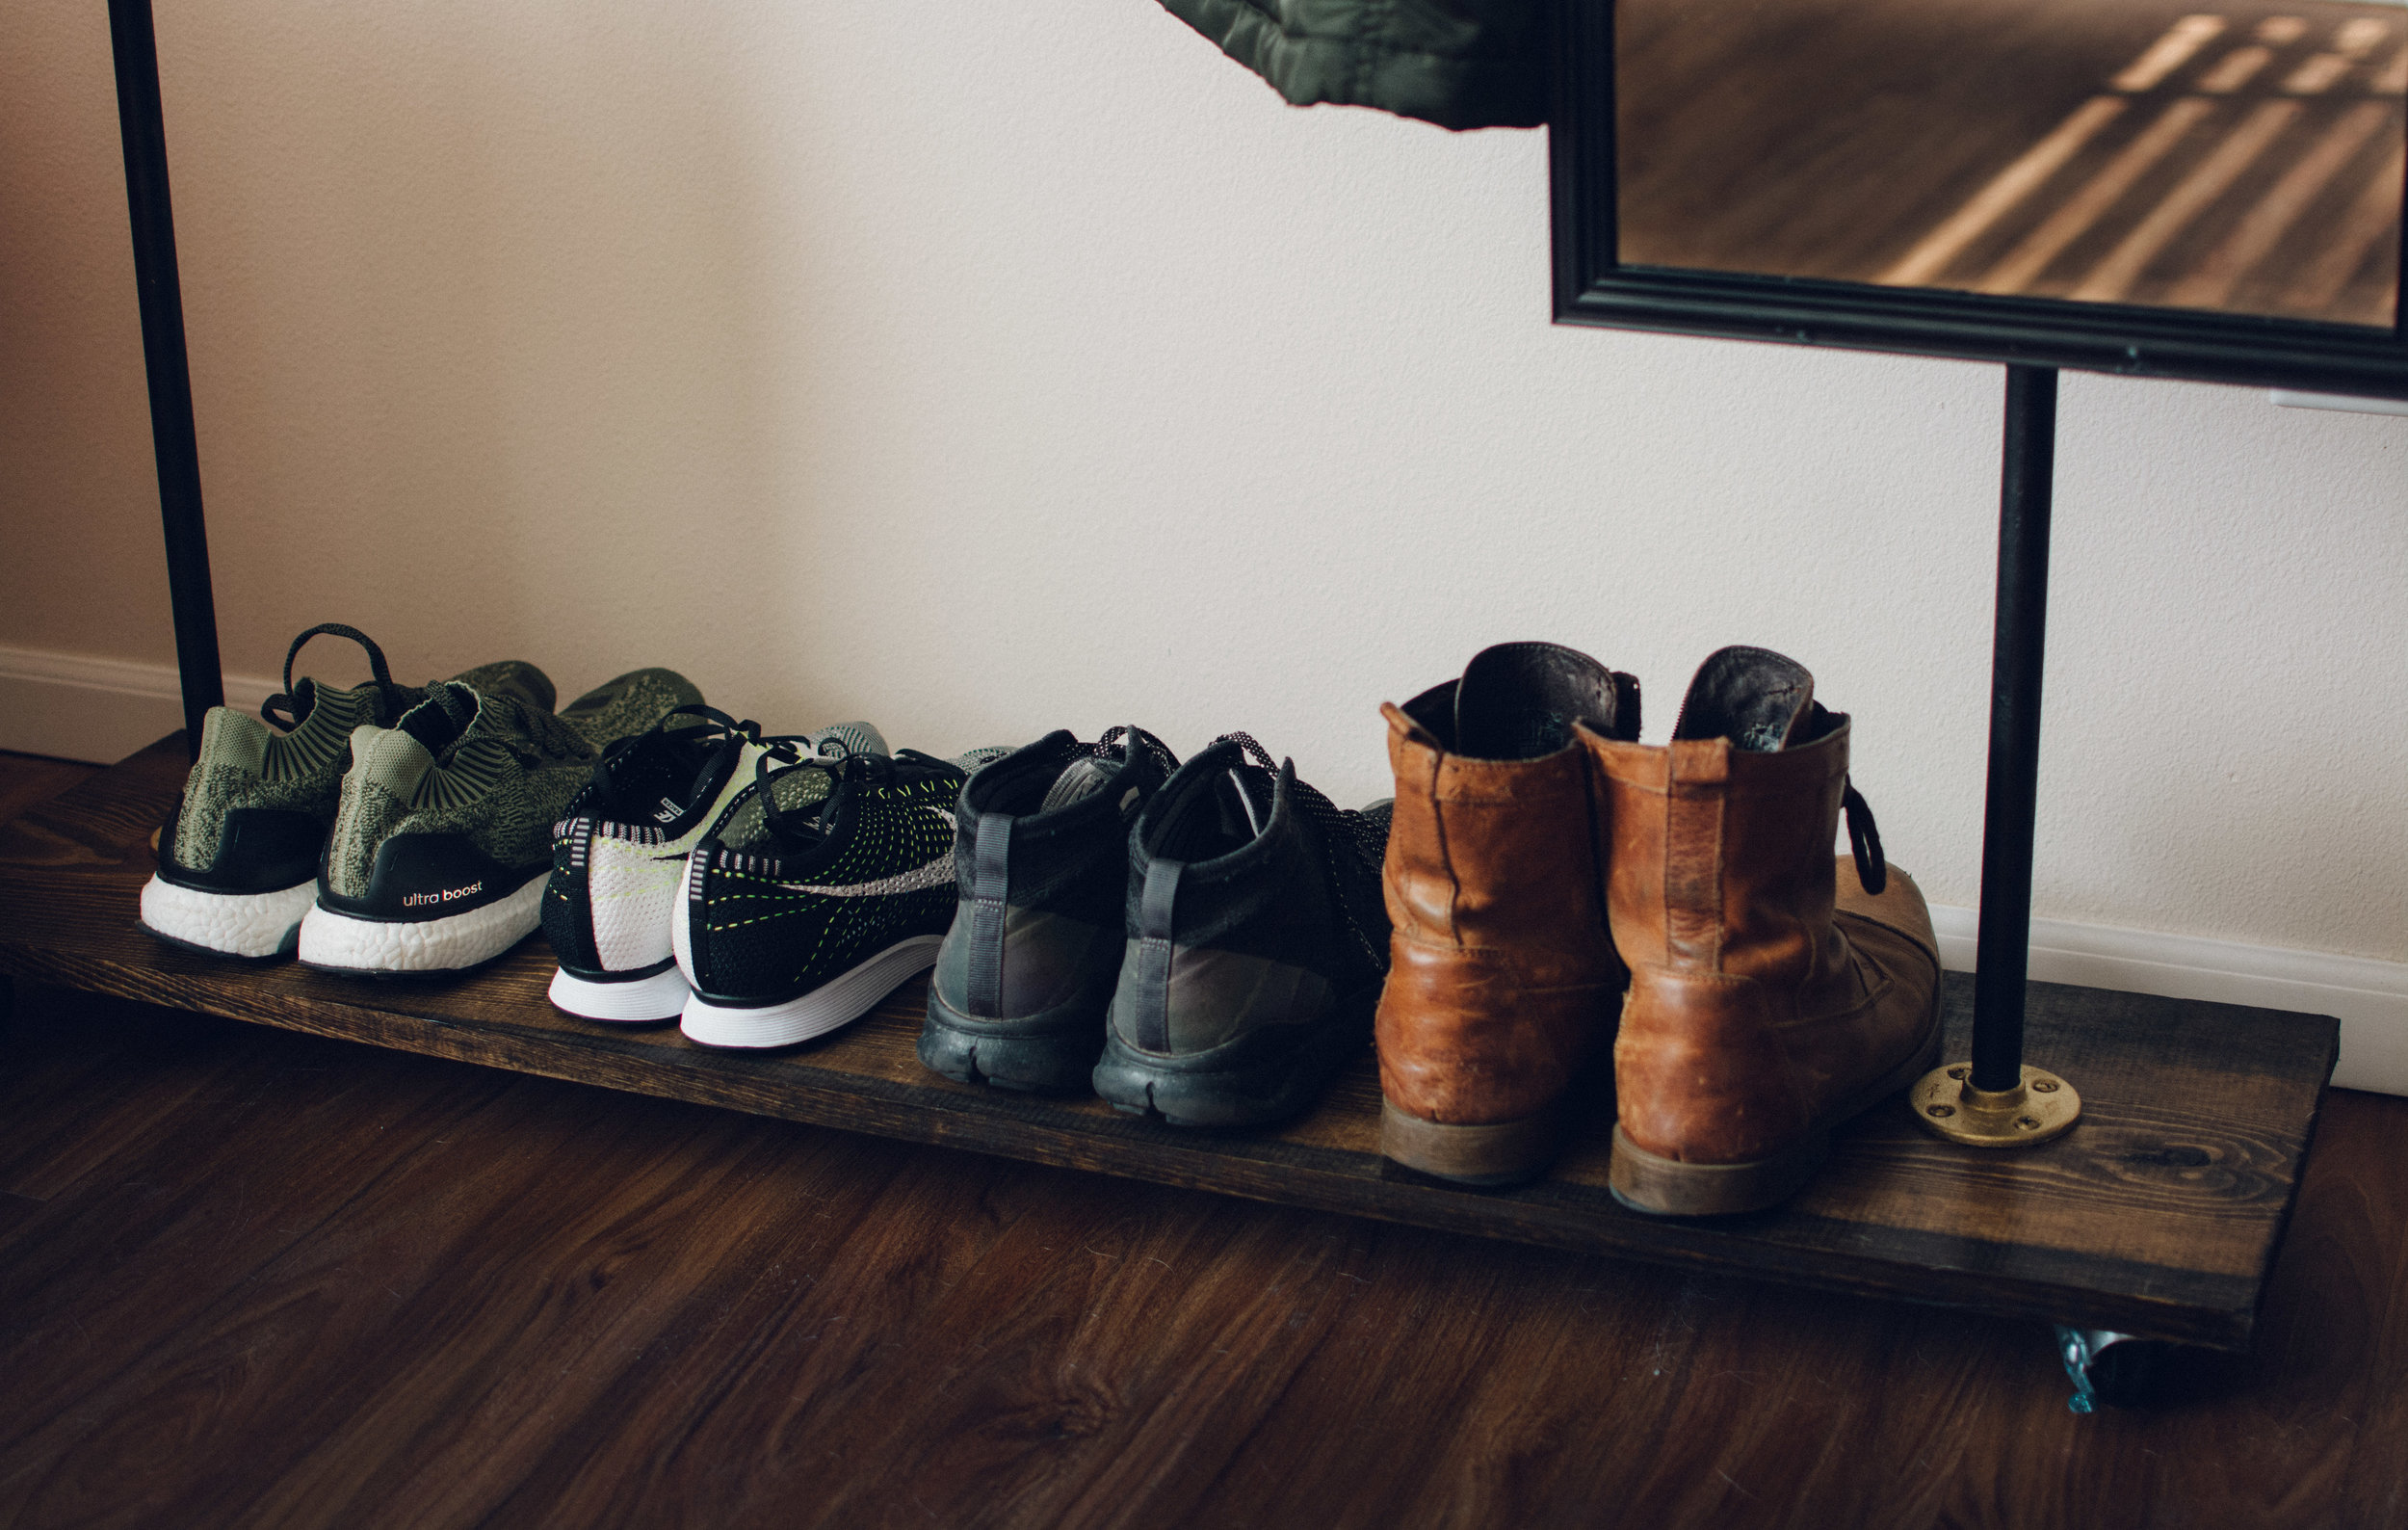
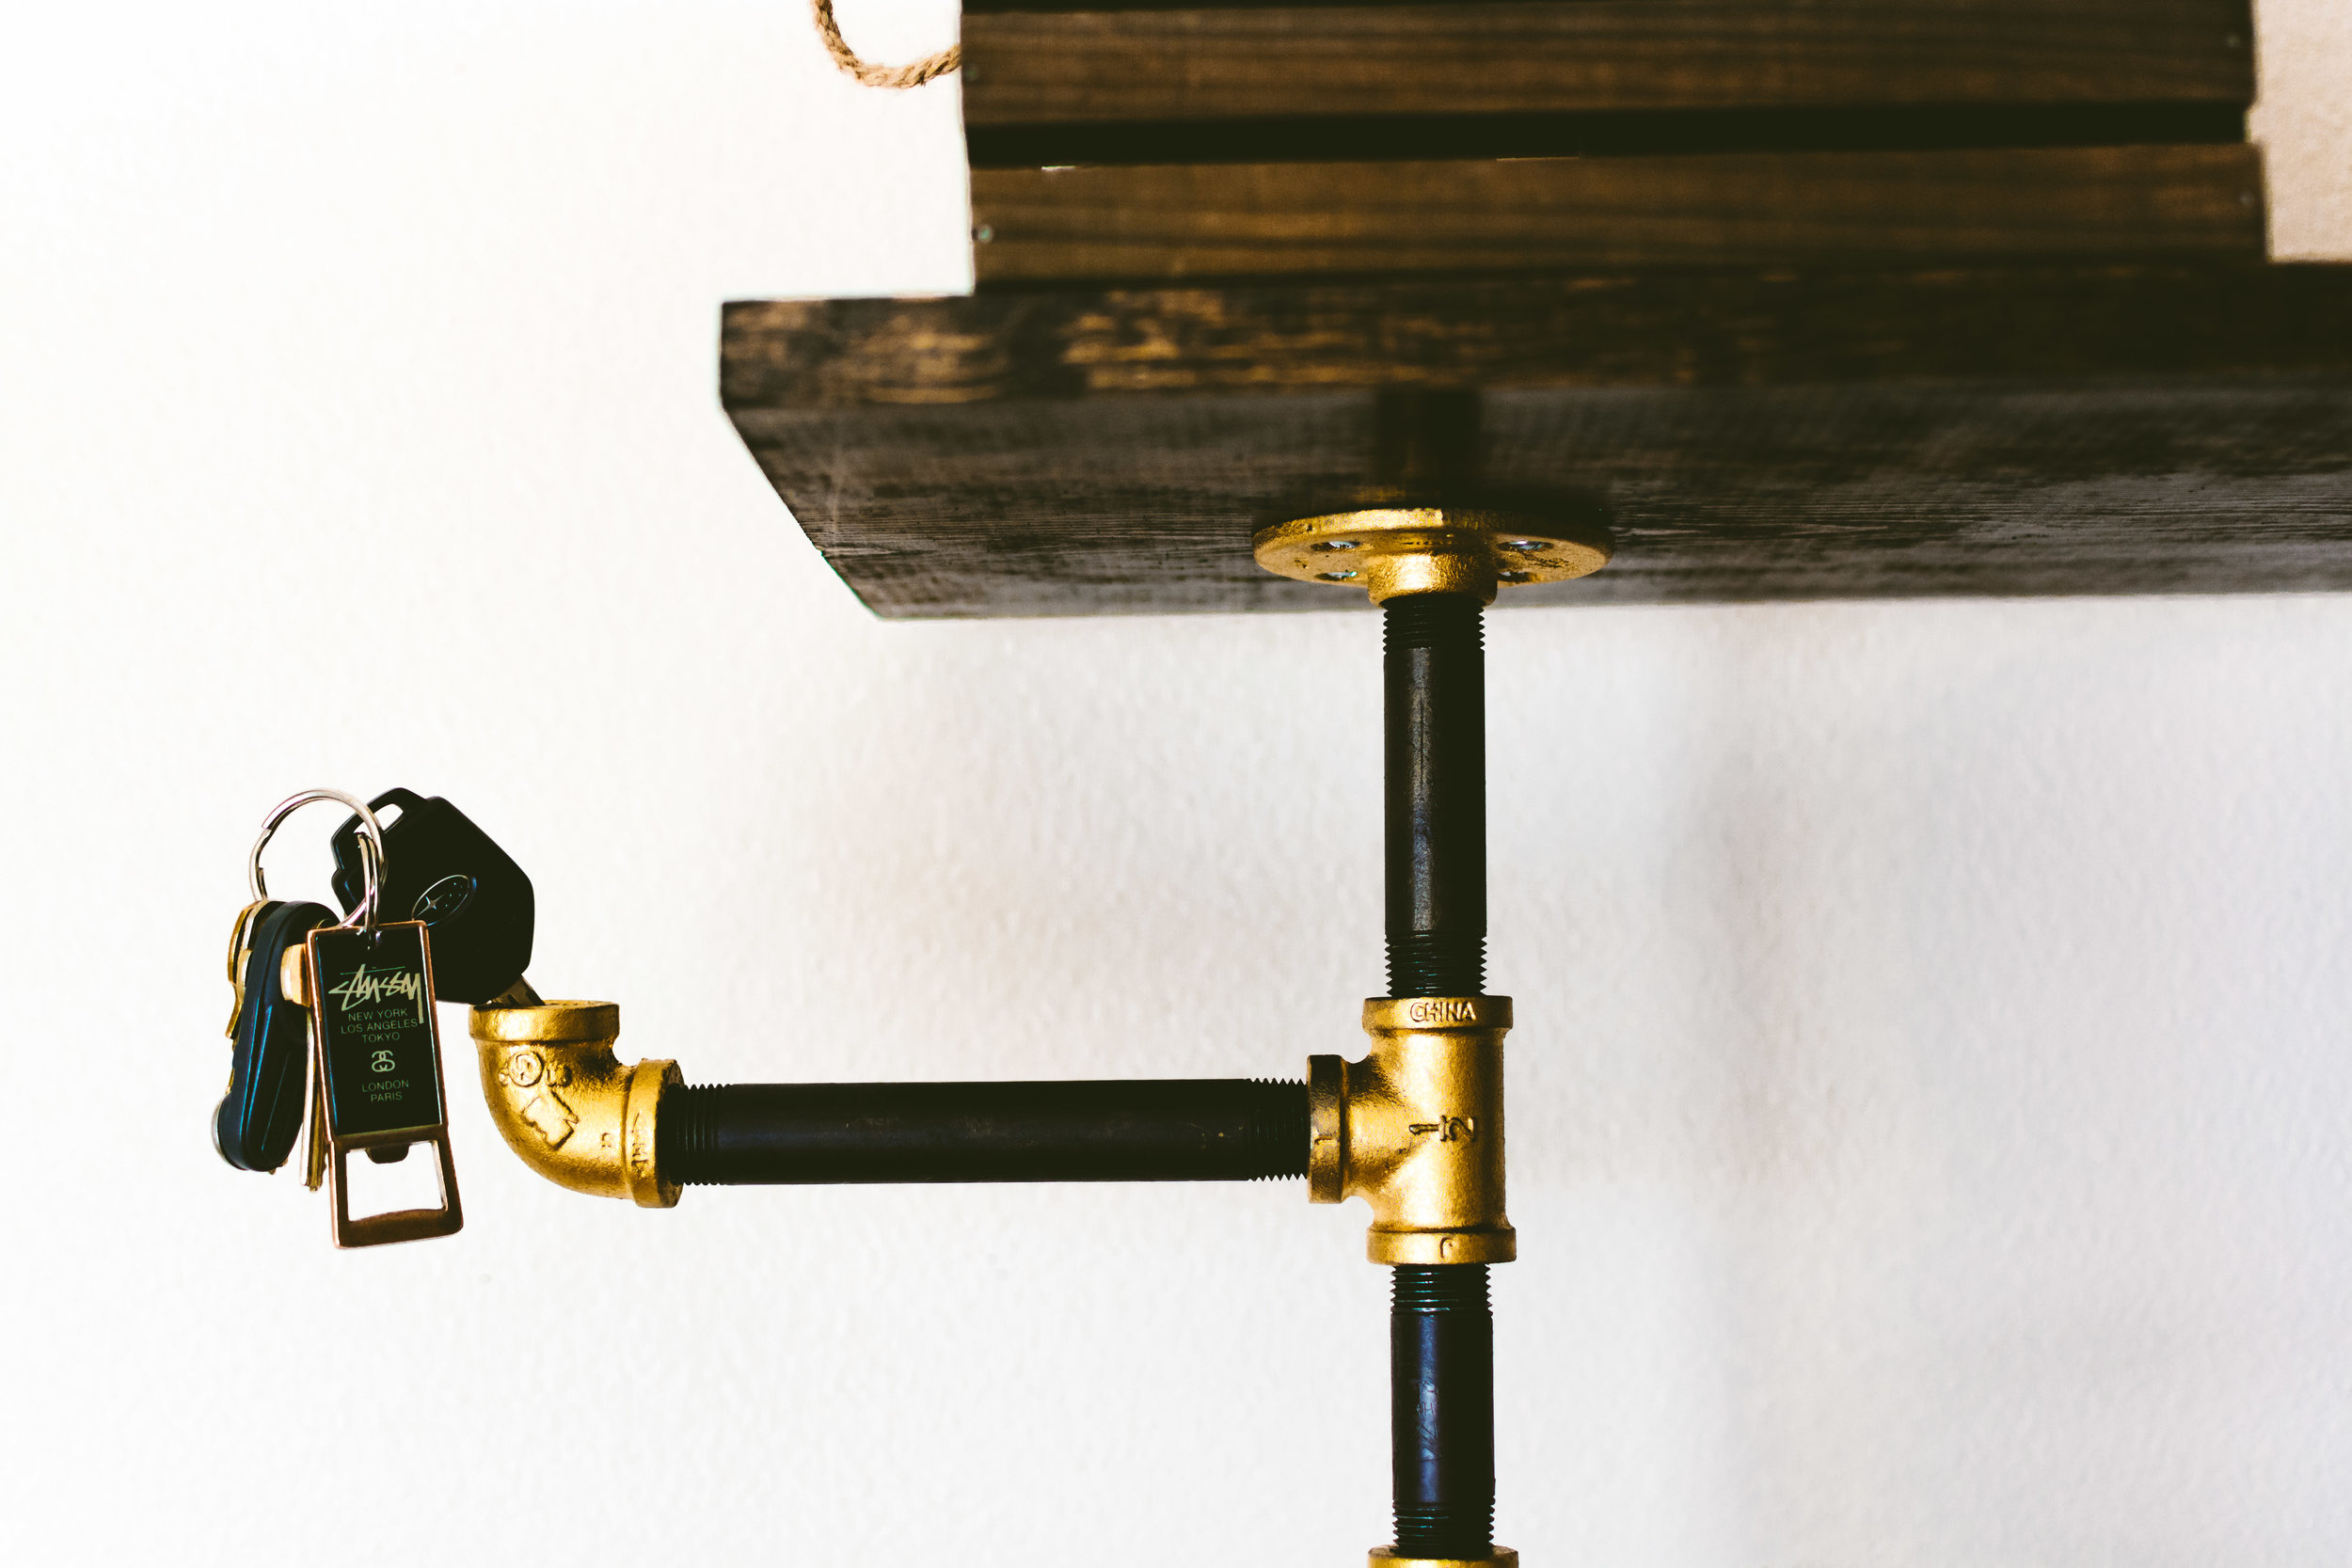
Farewell summer 16, hello autumn! It's time to start breaking out those jackets, beanies and boots. So for this fall/winter season, I wanted to update my garment rack in my apartment. A couple years ago, I made a simple garment rack made out of industrial pipes and fittings to hang my jackets and a solid base to place my shoes. I was satisfied with it at first, but I felt like a few things were missing. As the seasons passed, I realized right after I walked my dog, Rooney, that it would be real nice to have a convenient place to hold his leash, set my keys and hang my jacket all in one organized area, so it hit me to upgrade my garment rack.
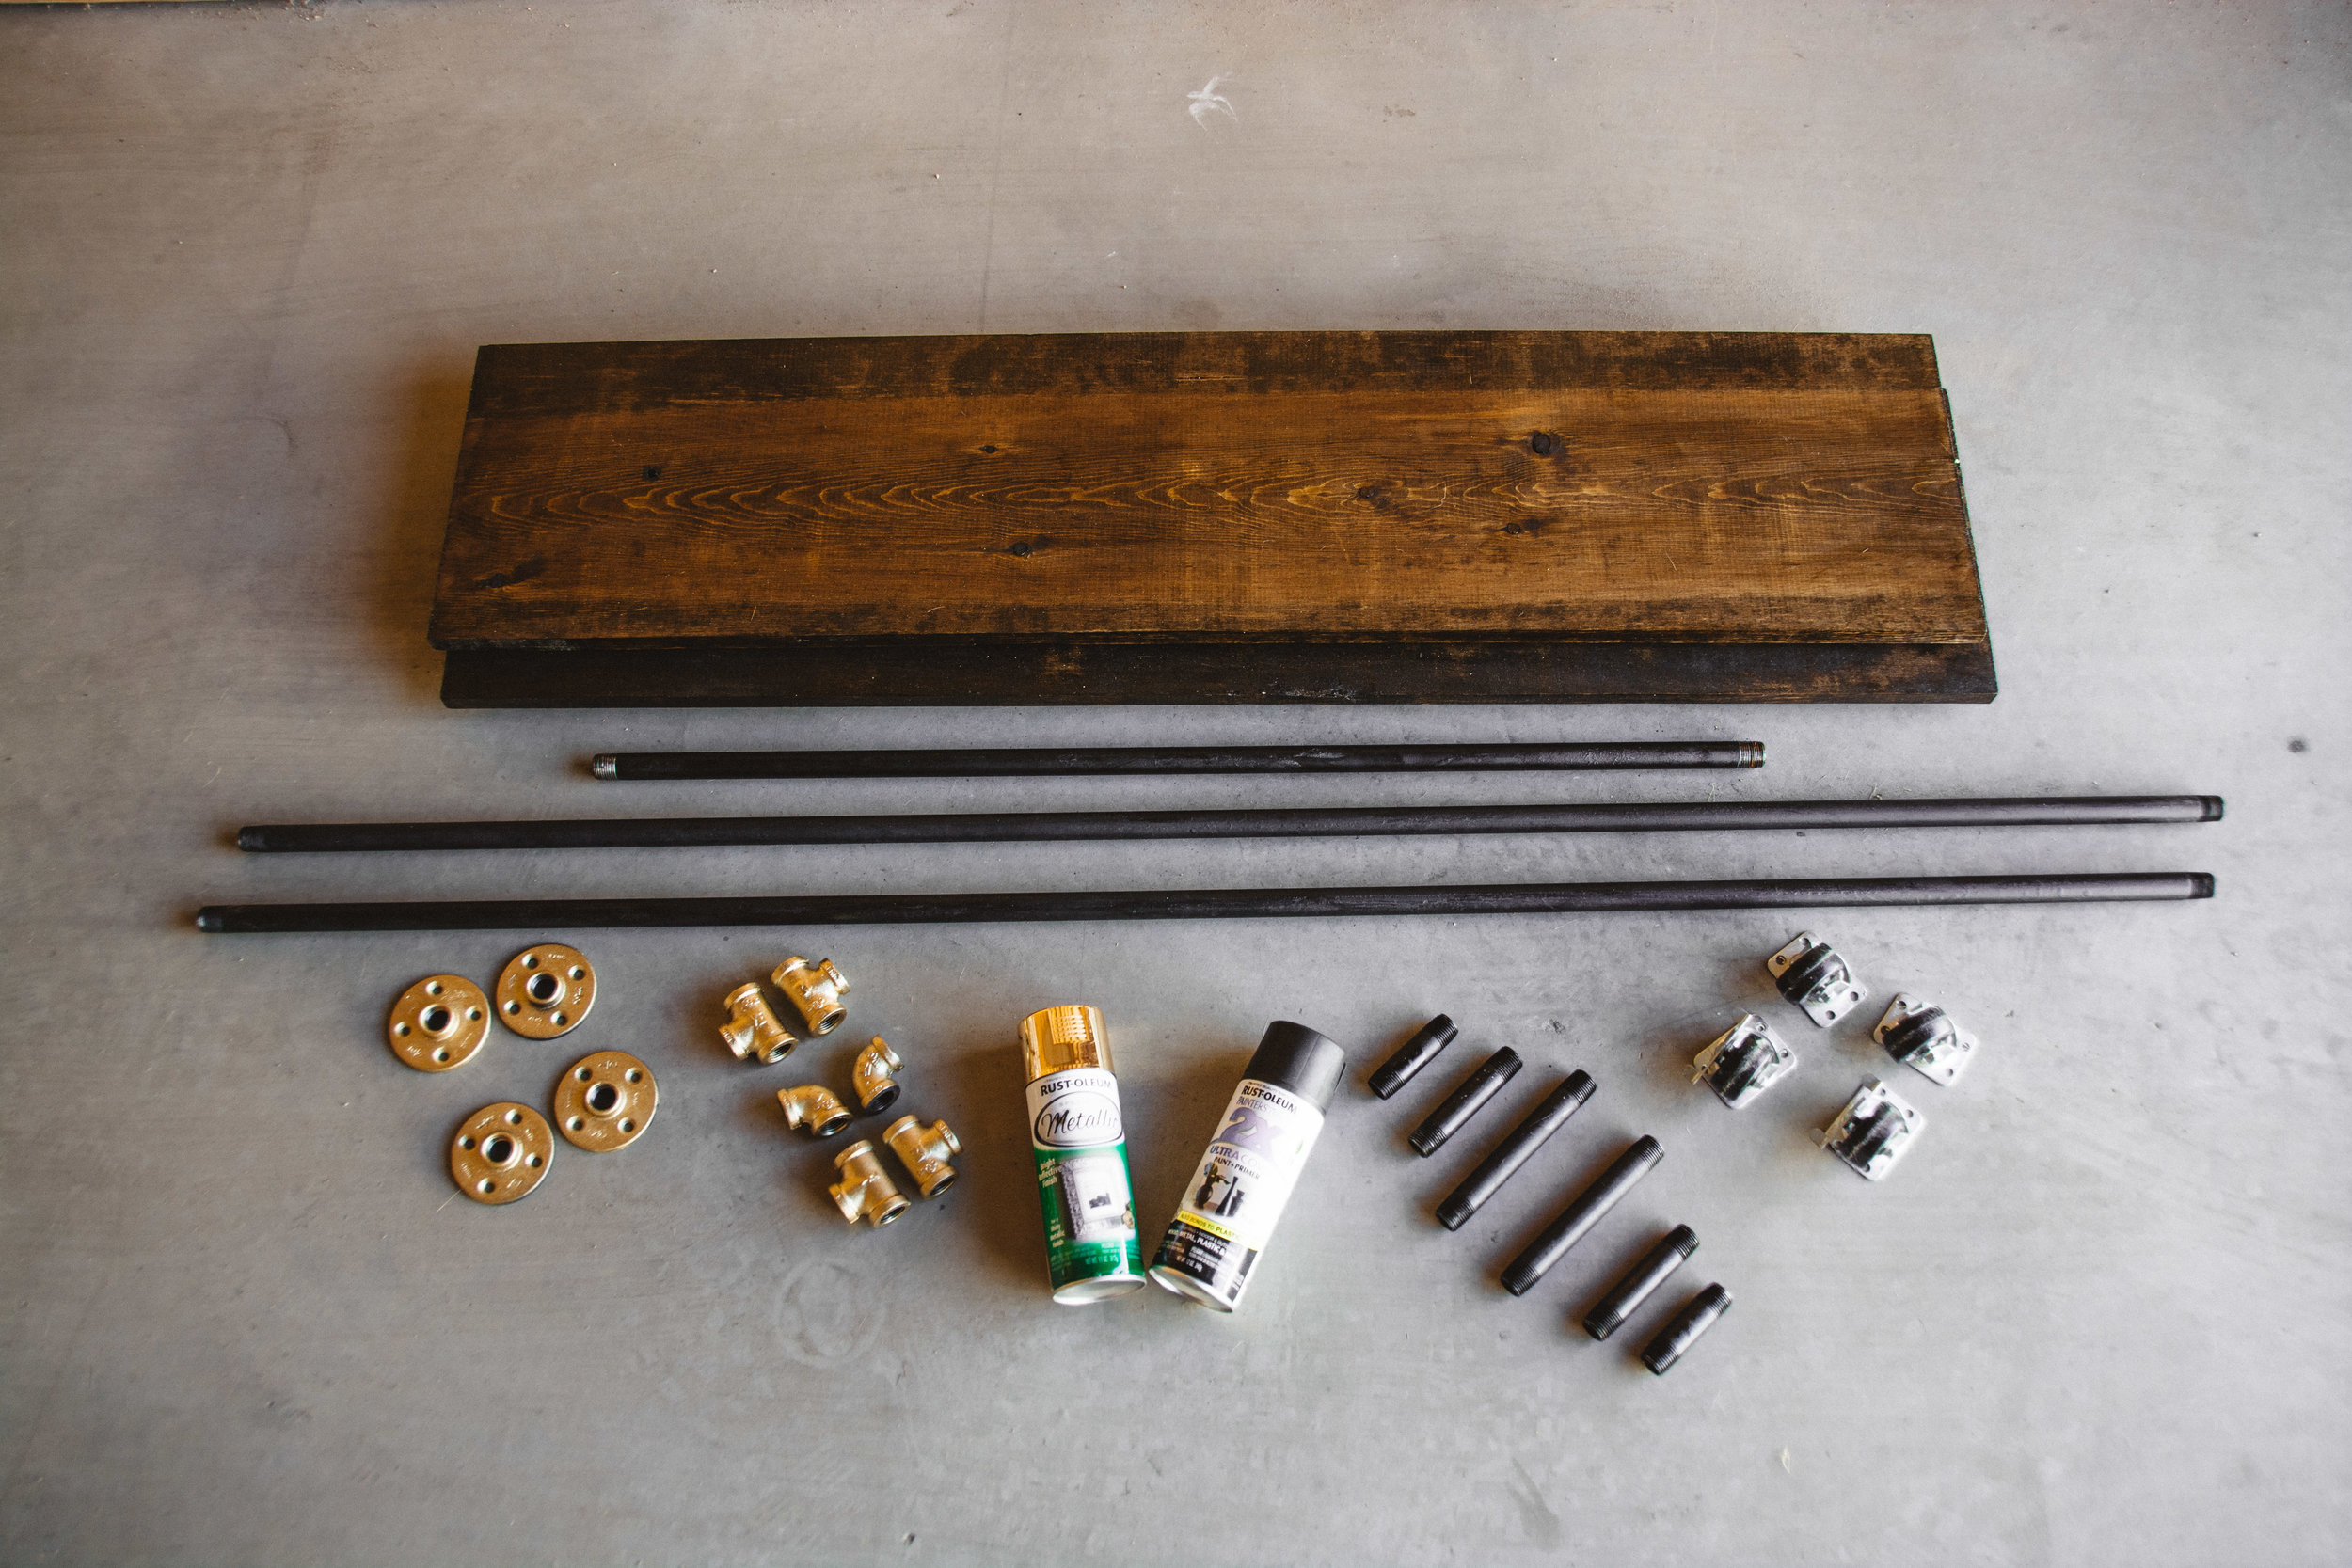
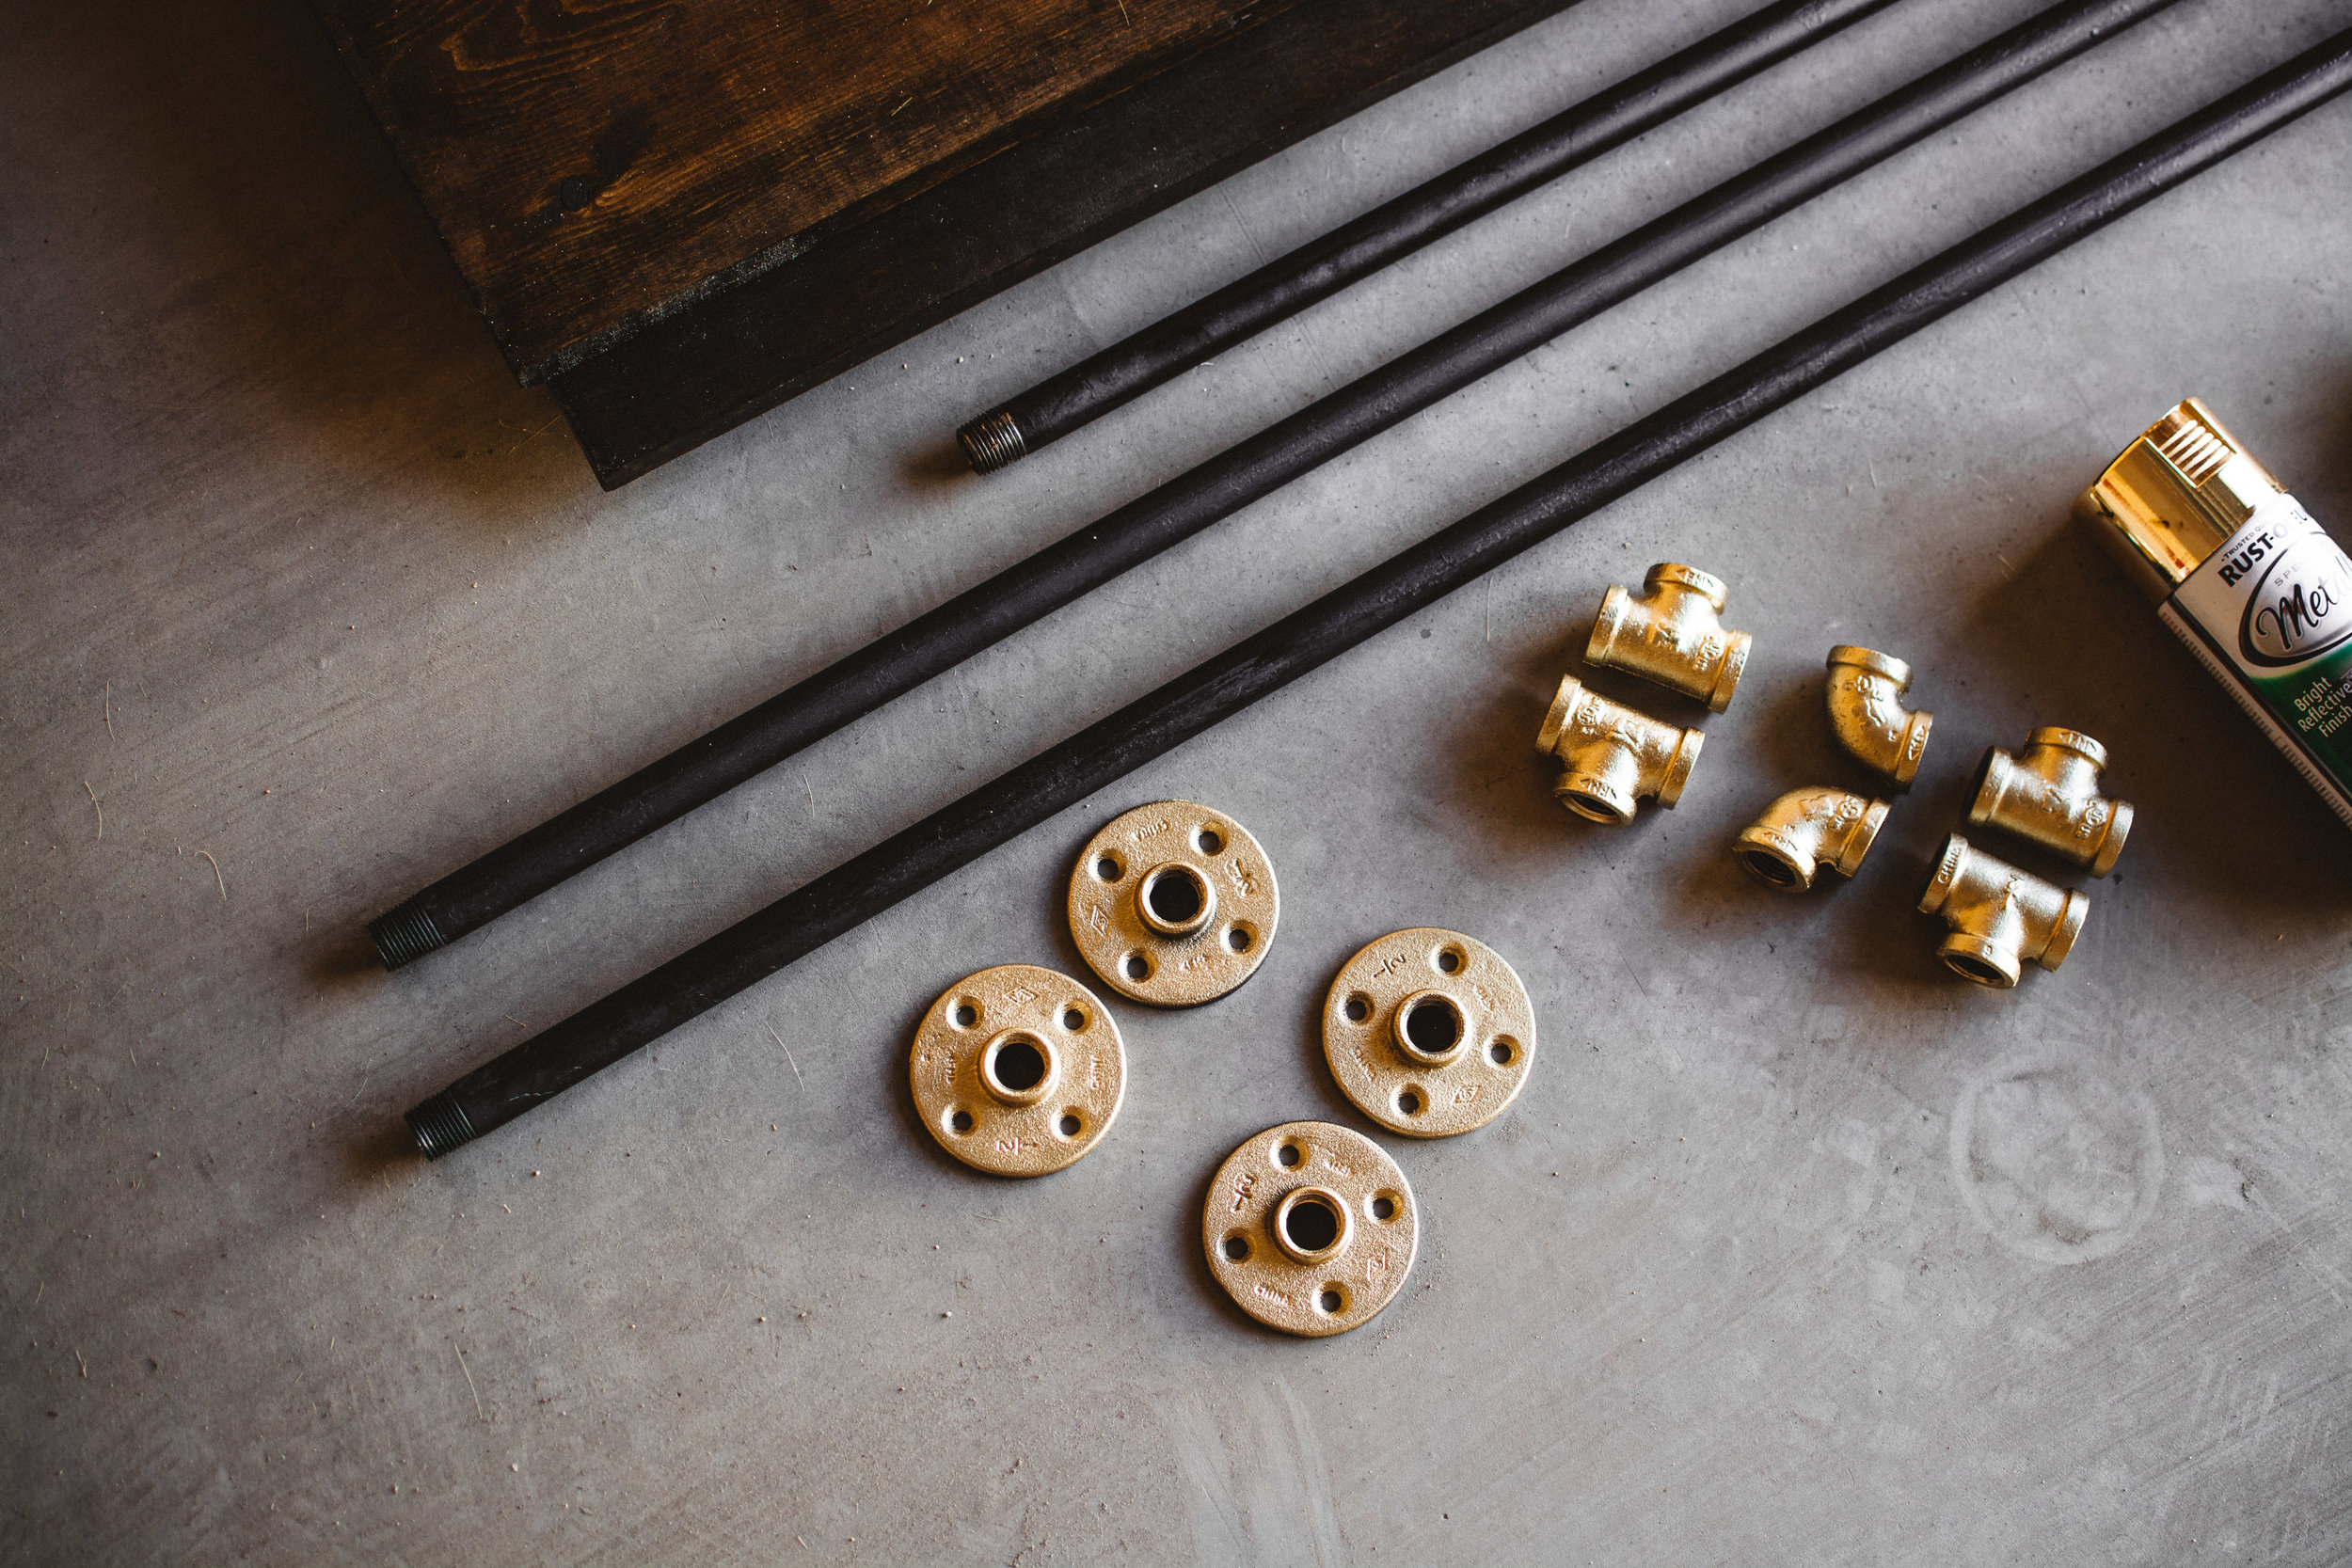
For all the materials, I bought it at Home Depot for around $85.00. If you have a smaller budget than that, you can opt out of purchasing a couple pipes, fittings, not applying paint and also not purchasing interior stain and polyurethane, which would save you at least $30.00 and give you that Urban Outfitters store look, haha. The thing I like about using industrial pipes and fittings is that you can customize it the way you want and you can reuse them for other projects. Plus, I've always liked that modern/industrial loft look.
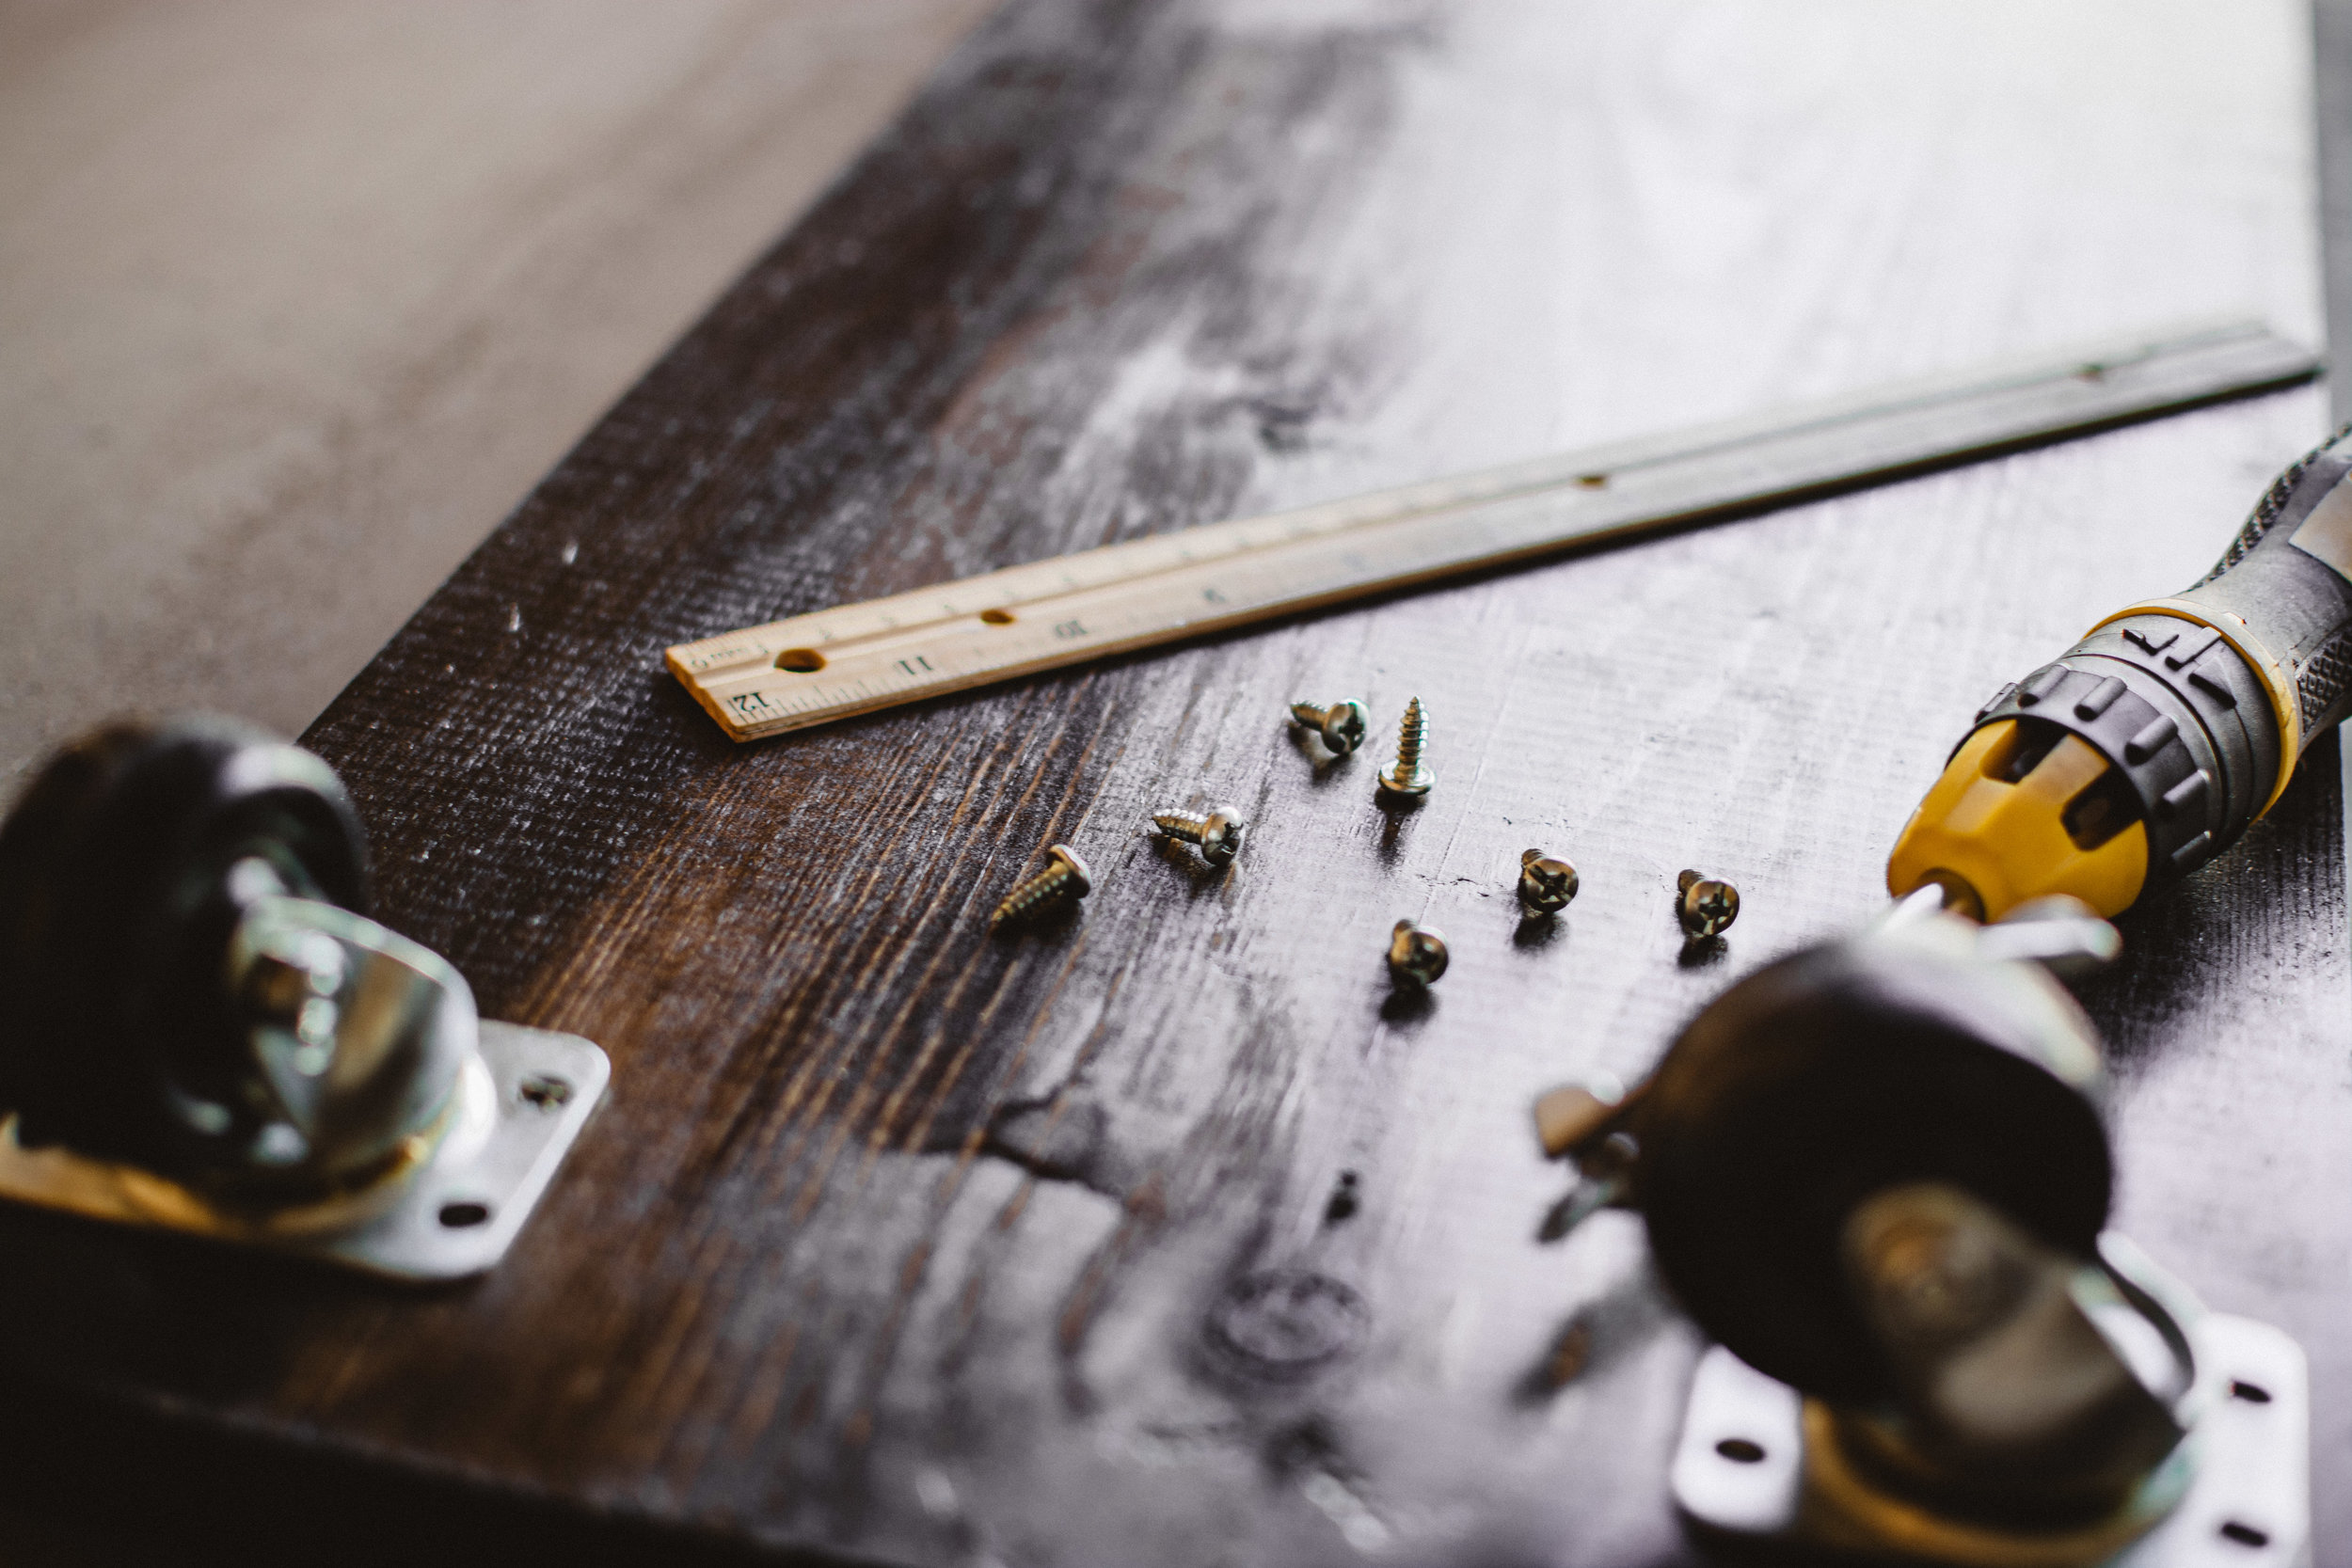
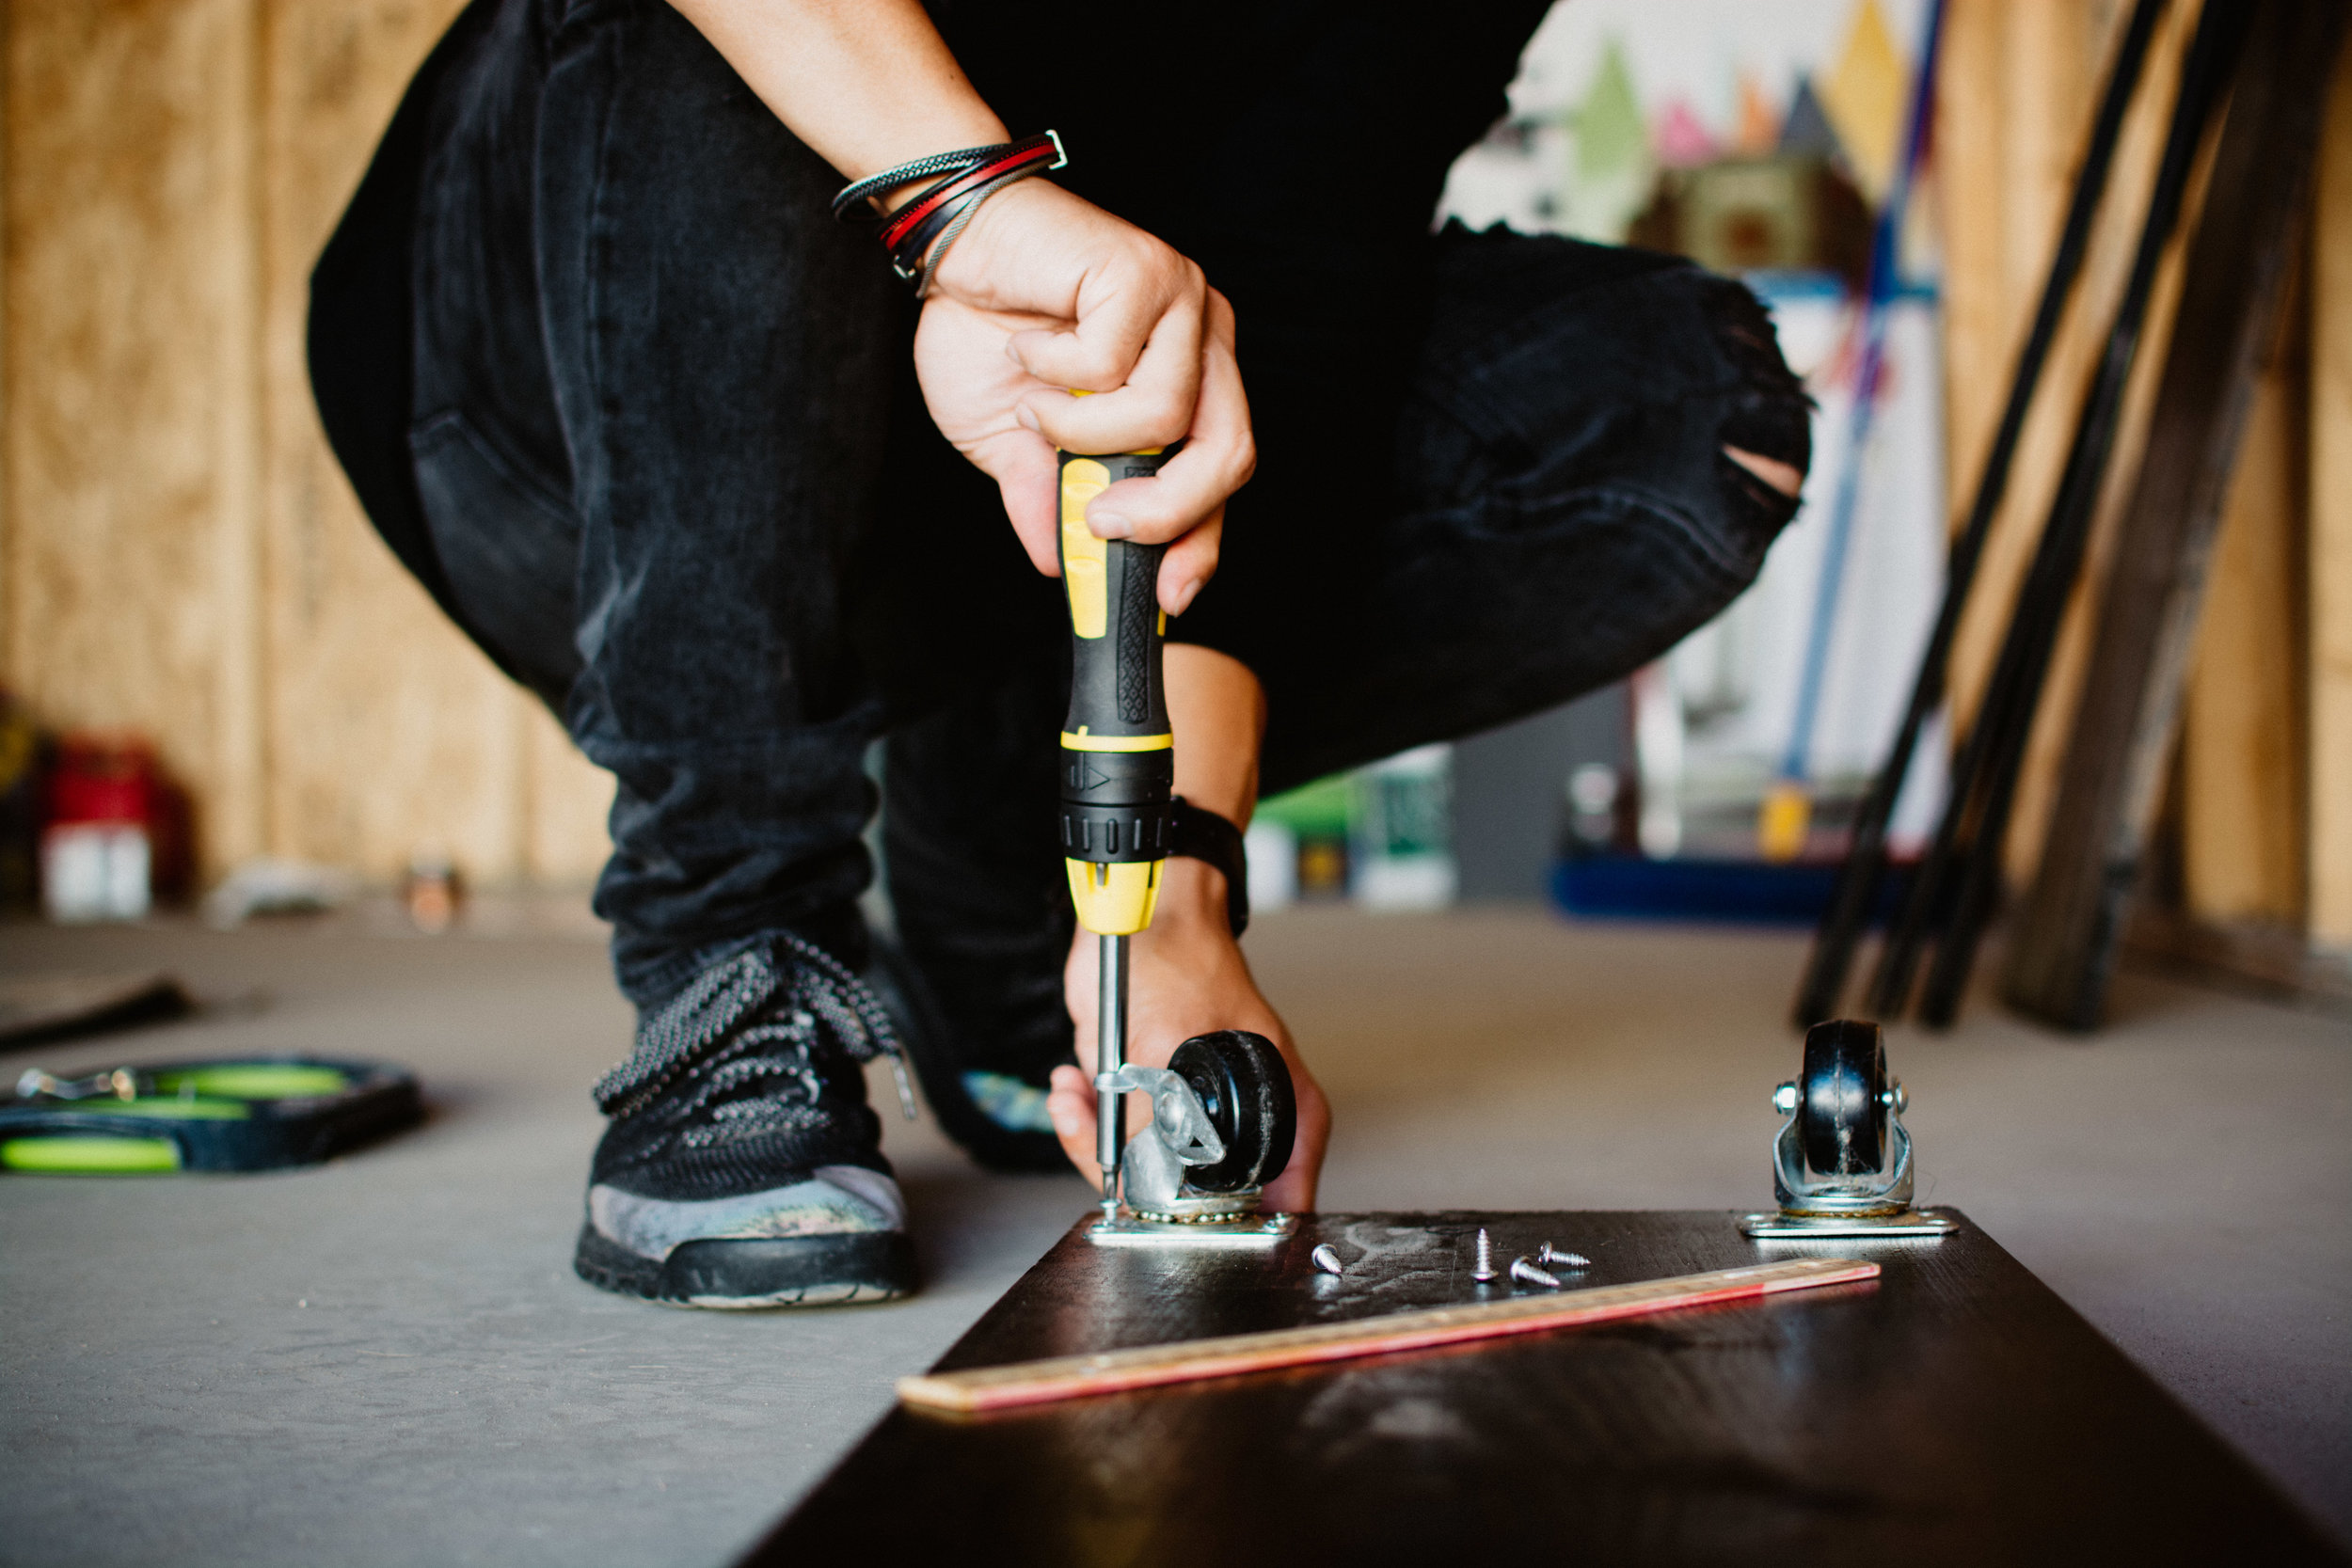
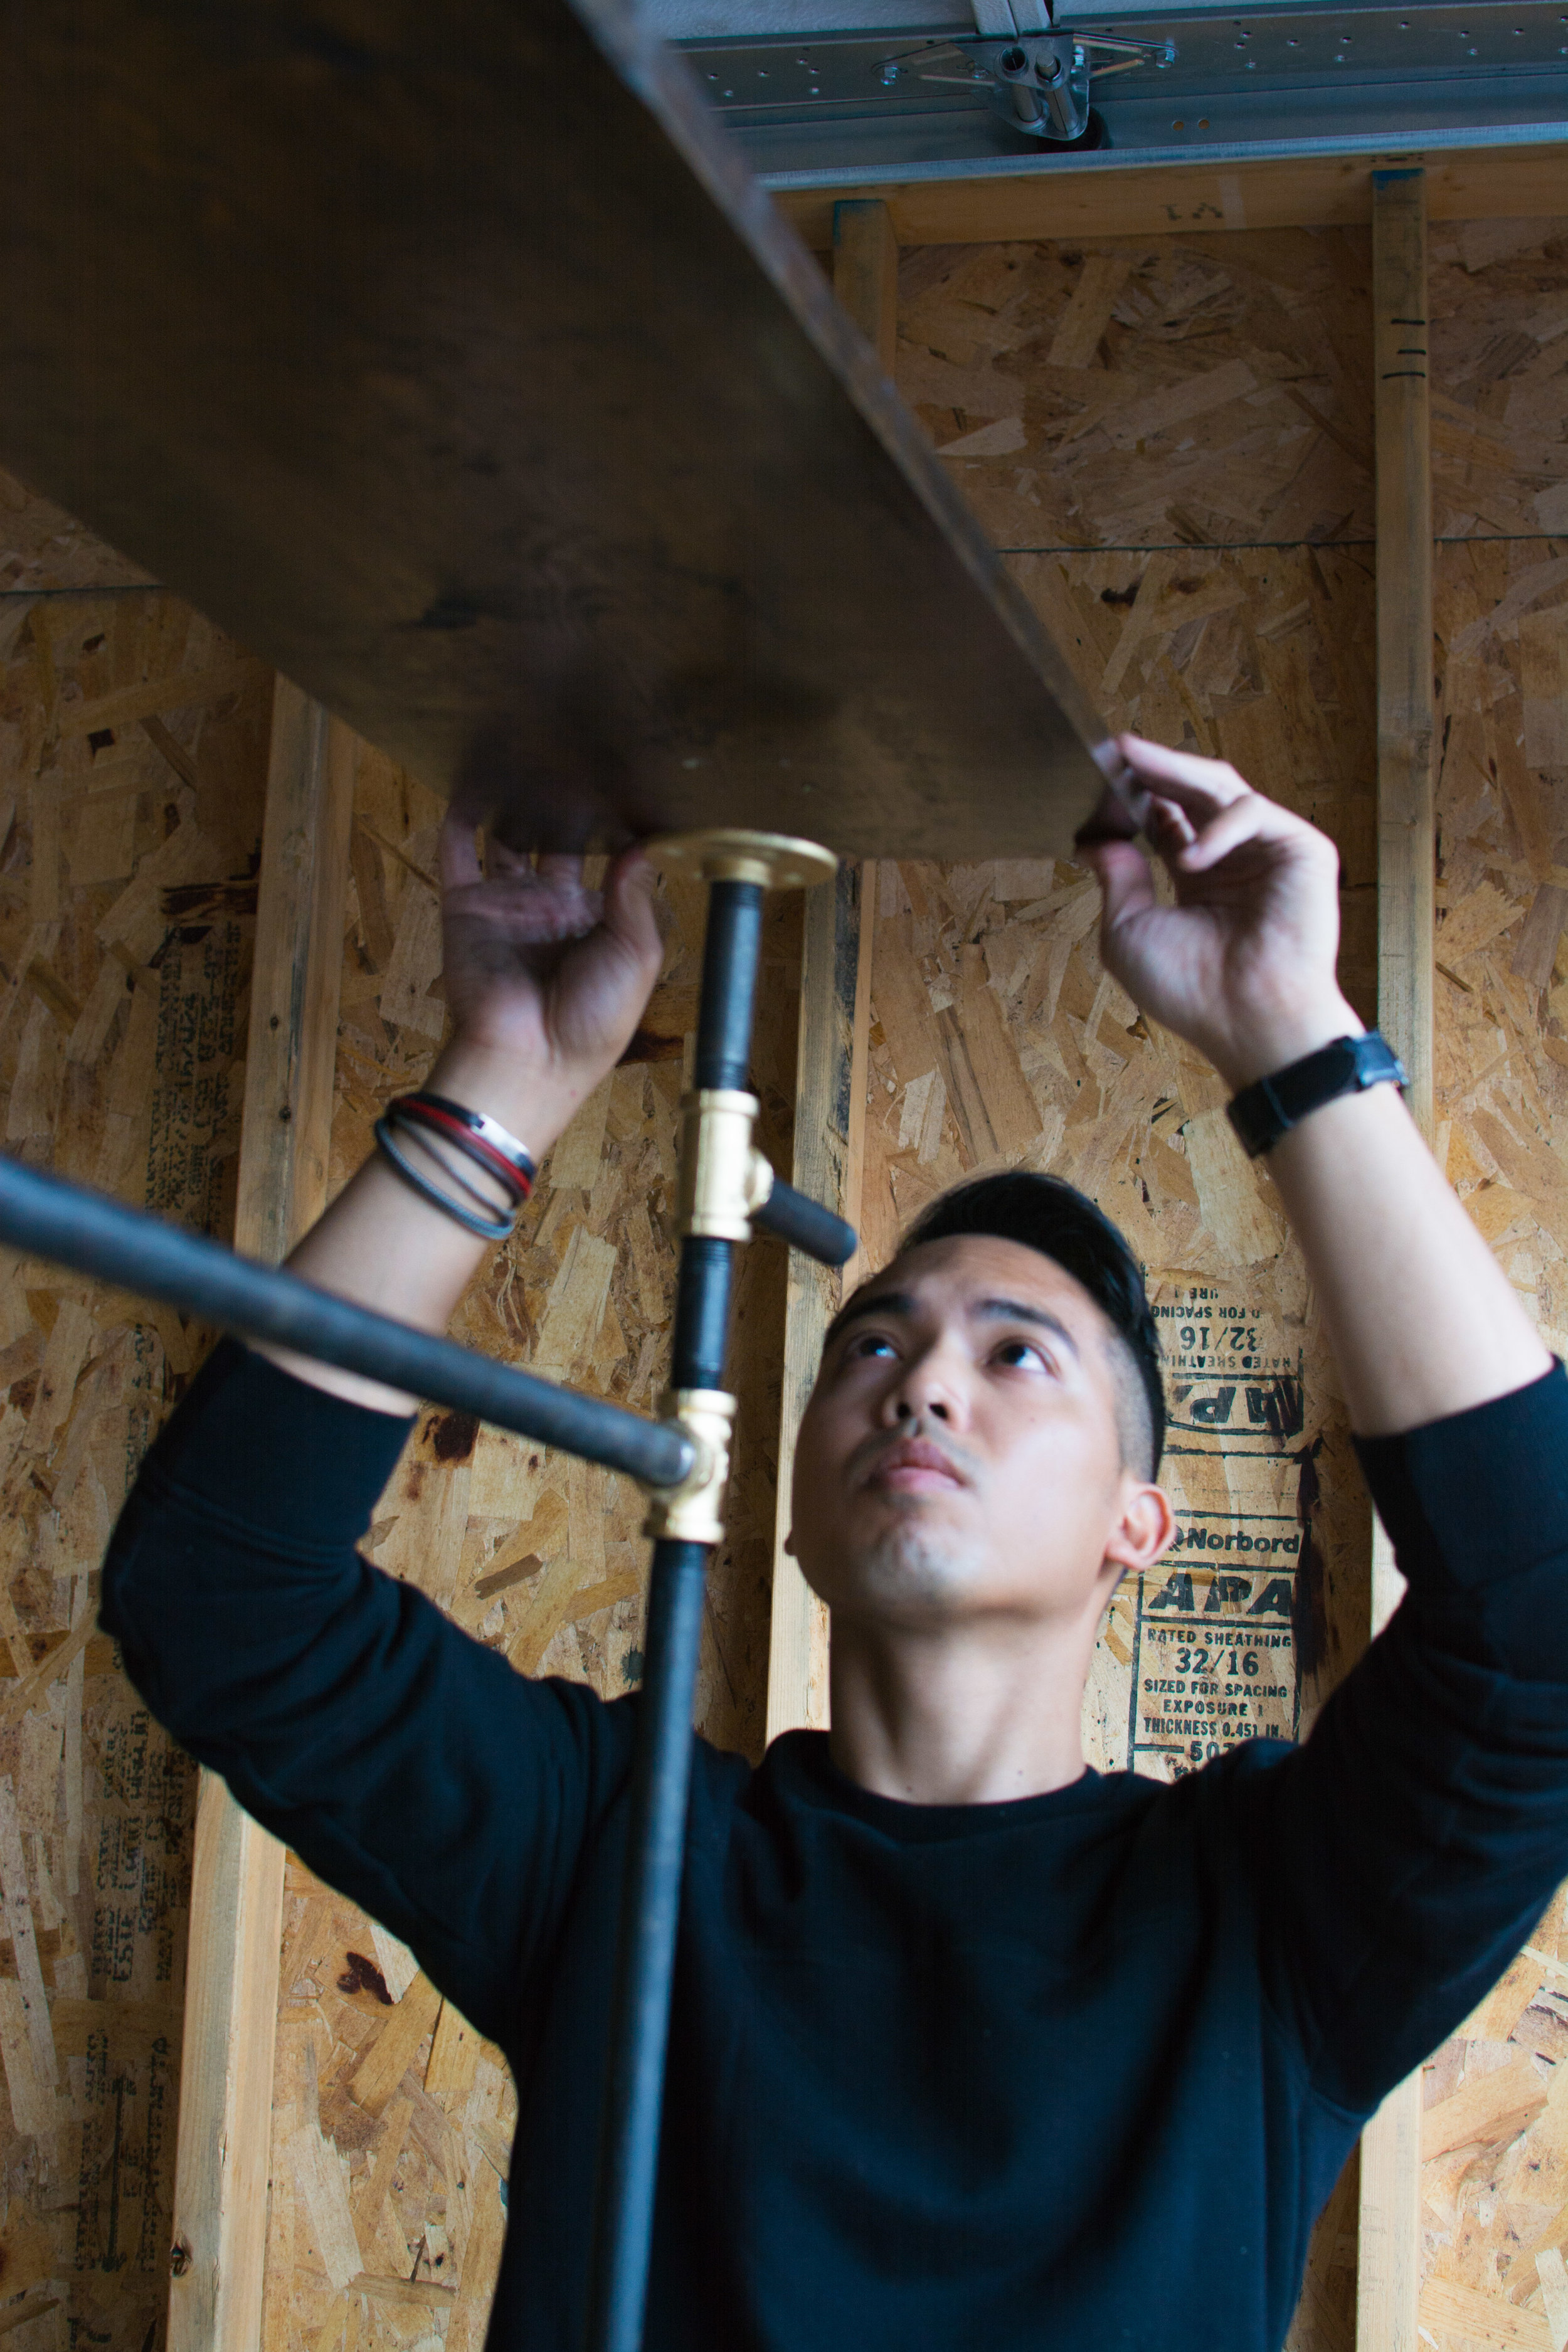
Assembling the garment rack is fairly easy. If you have someone to help you out, I would start with connecting the fittings and pipes altogether, which only takes 5-10 mins to do. Next, measure evenly and screw on the casters. From there your friend can hold the garment rack frame up, while you screw on the bottom flanges to the wood base and so on with the top shelf and you're DONE!

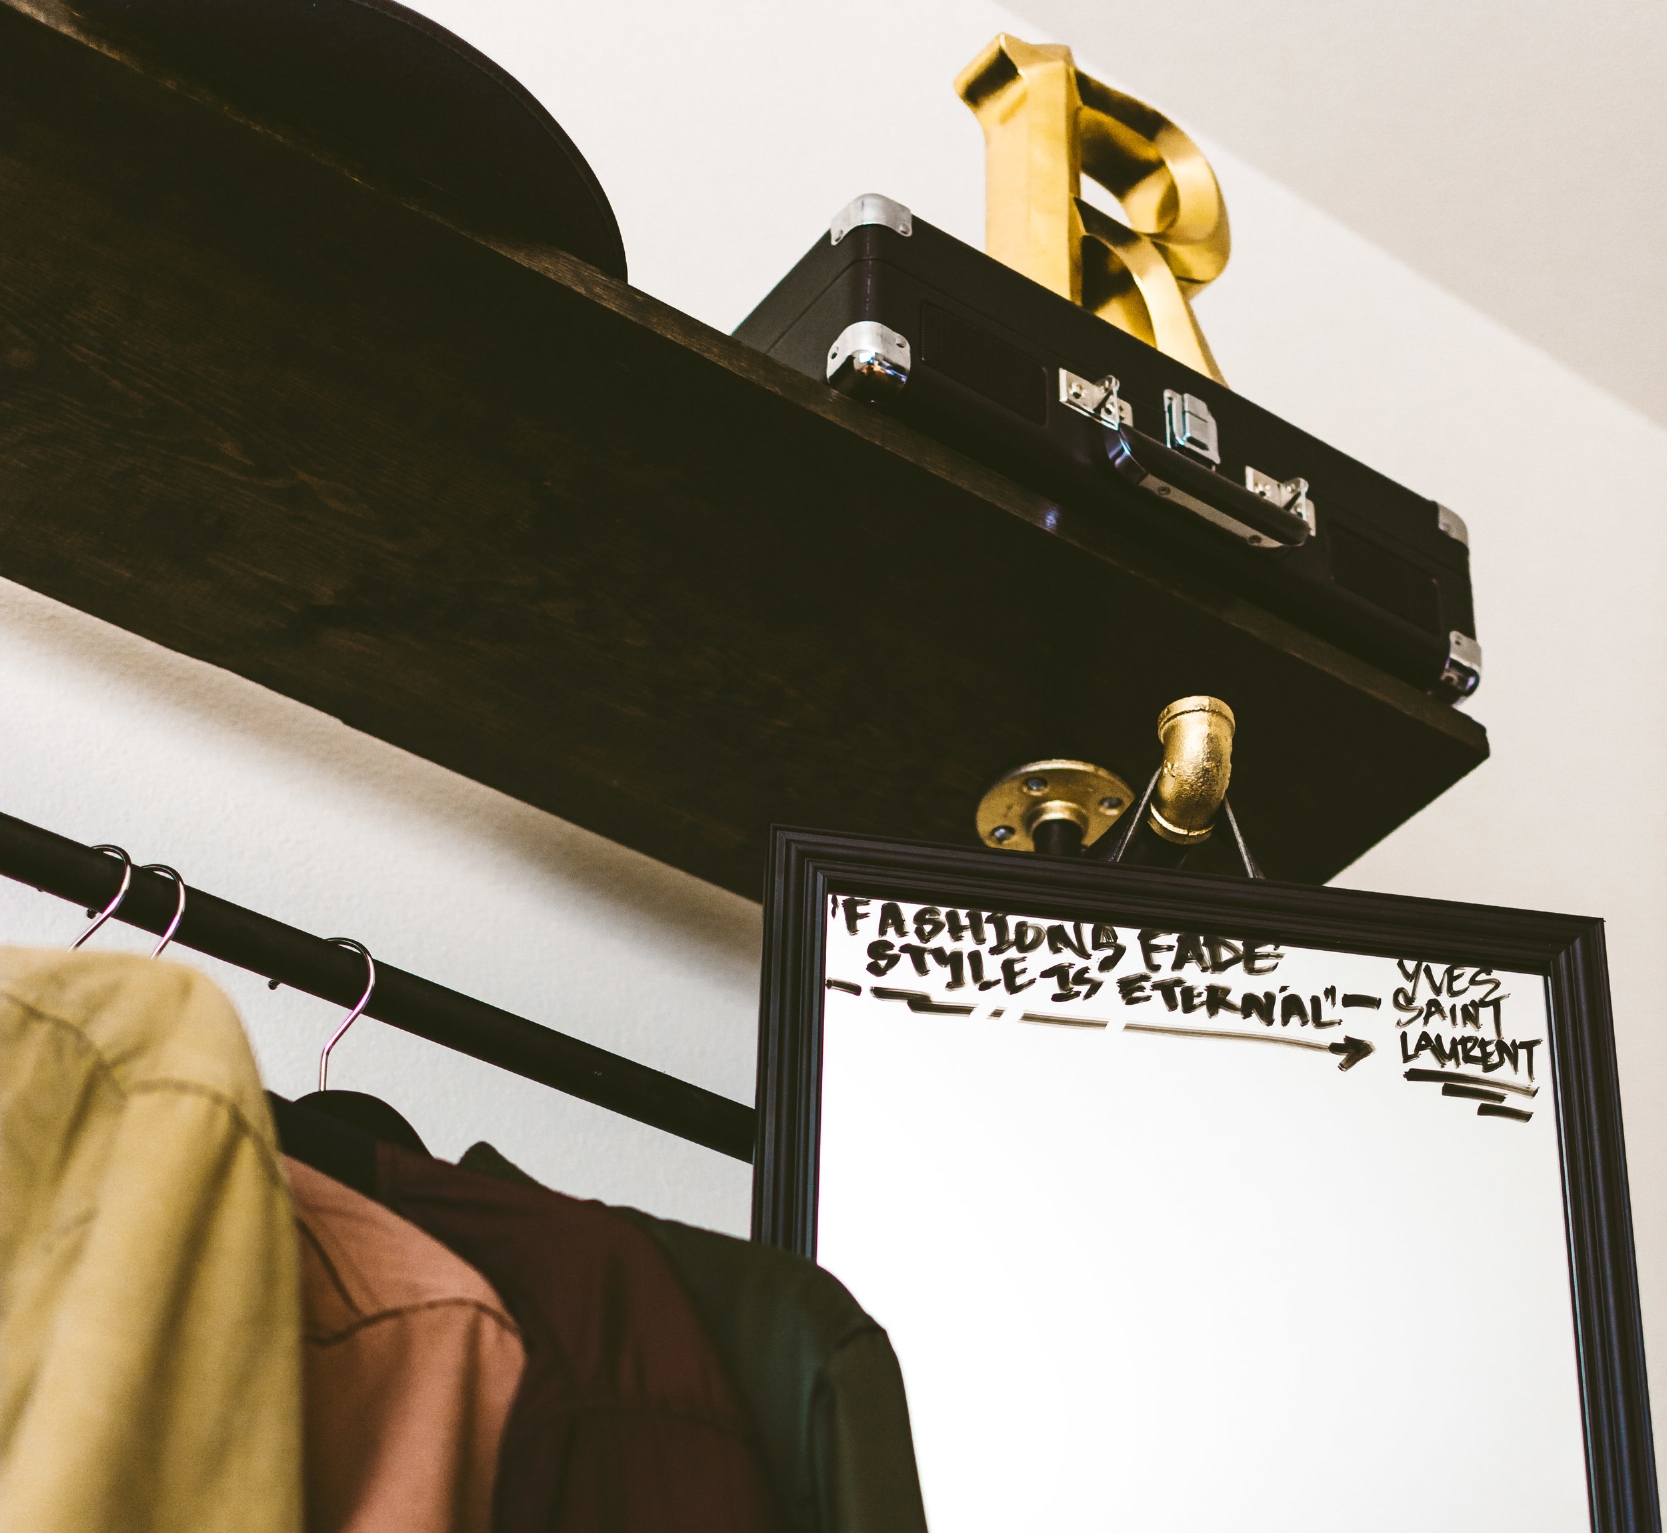


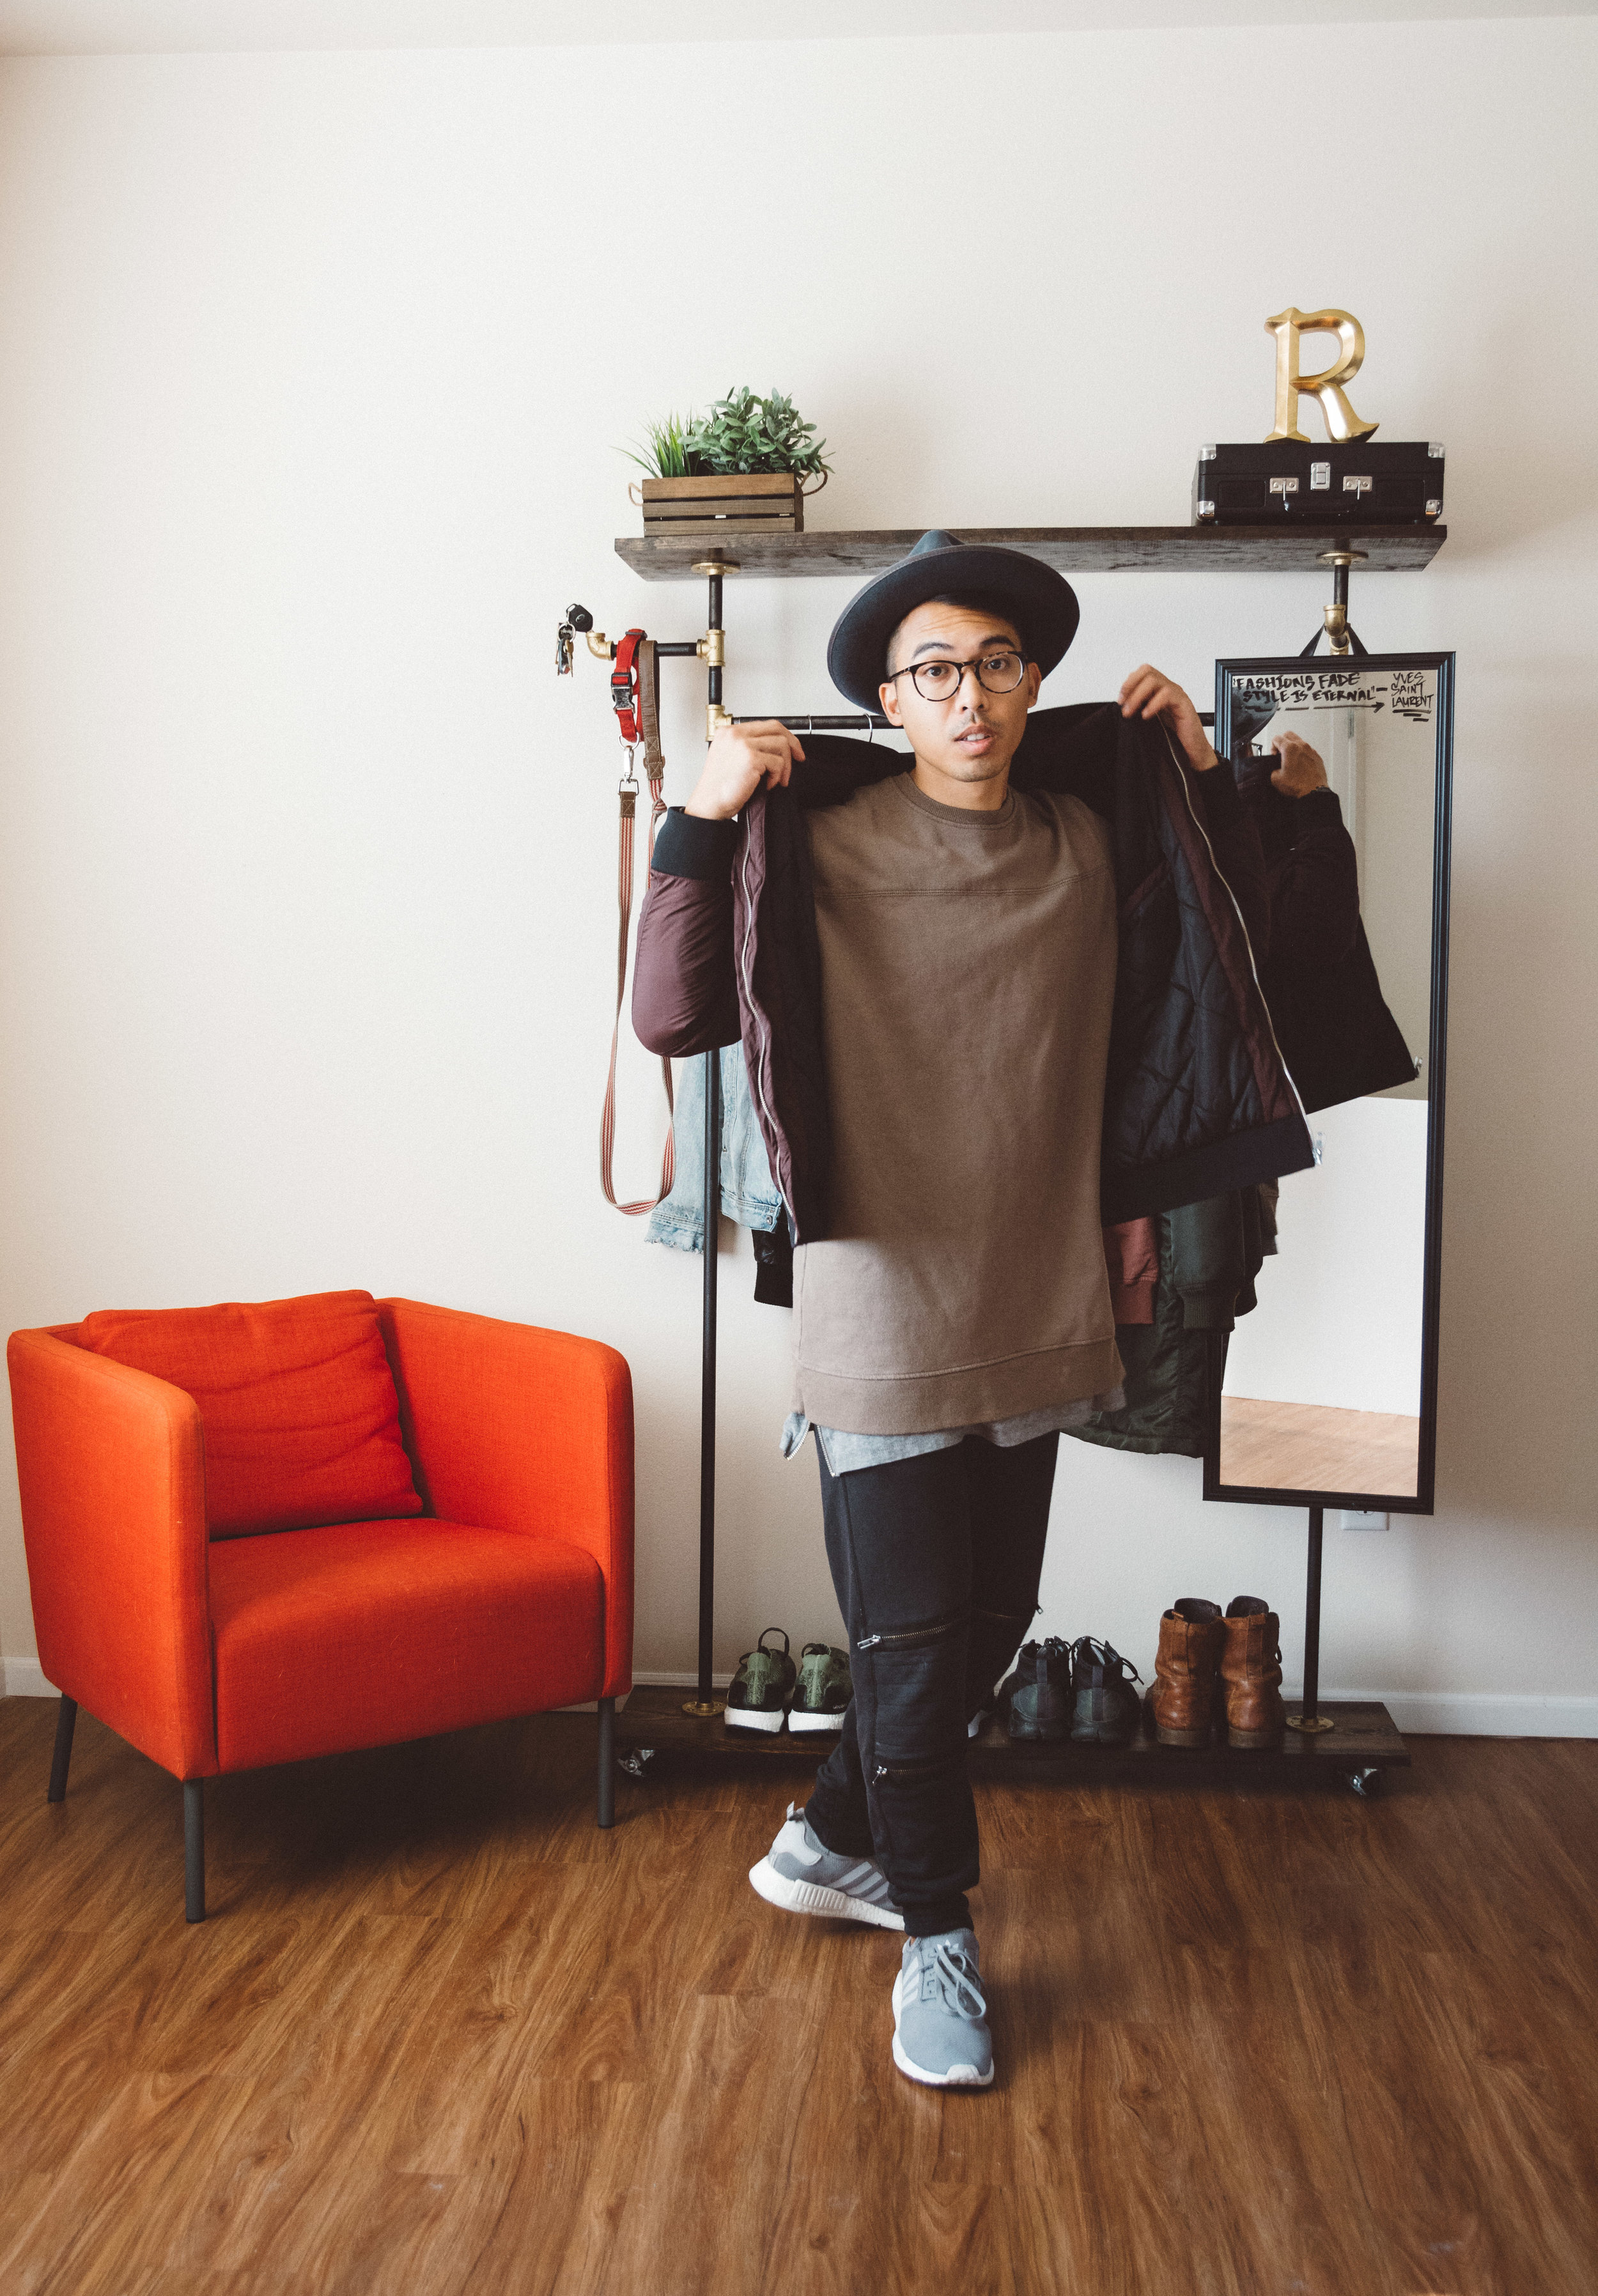
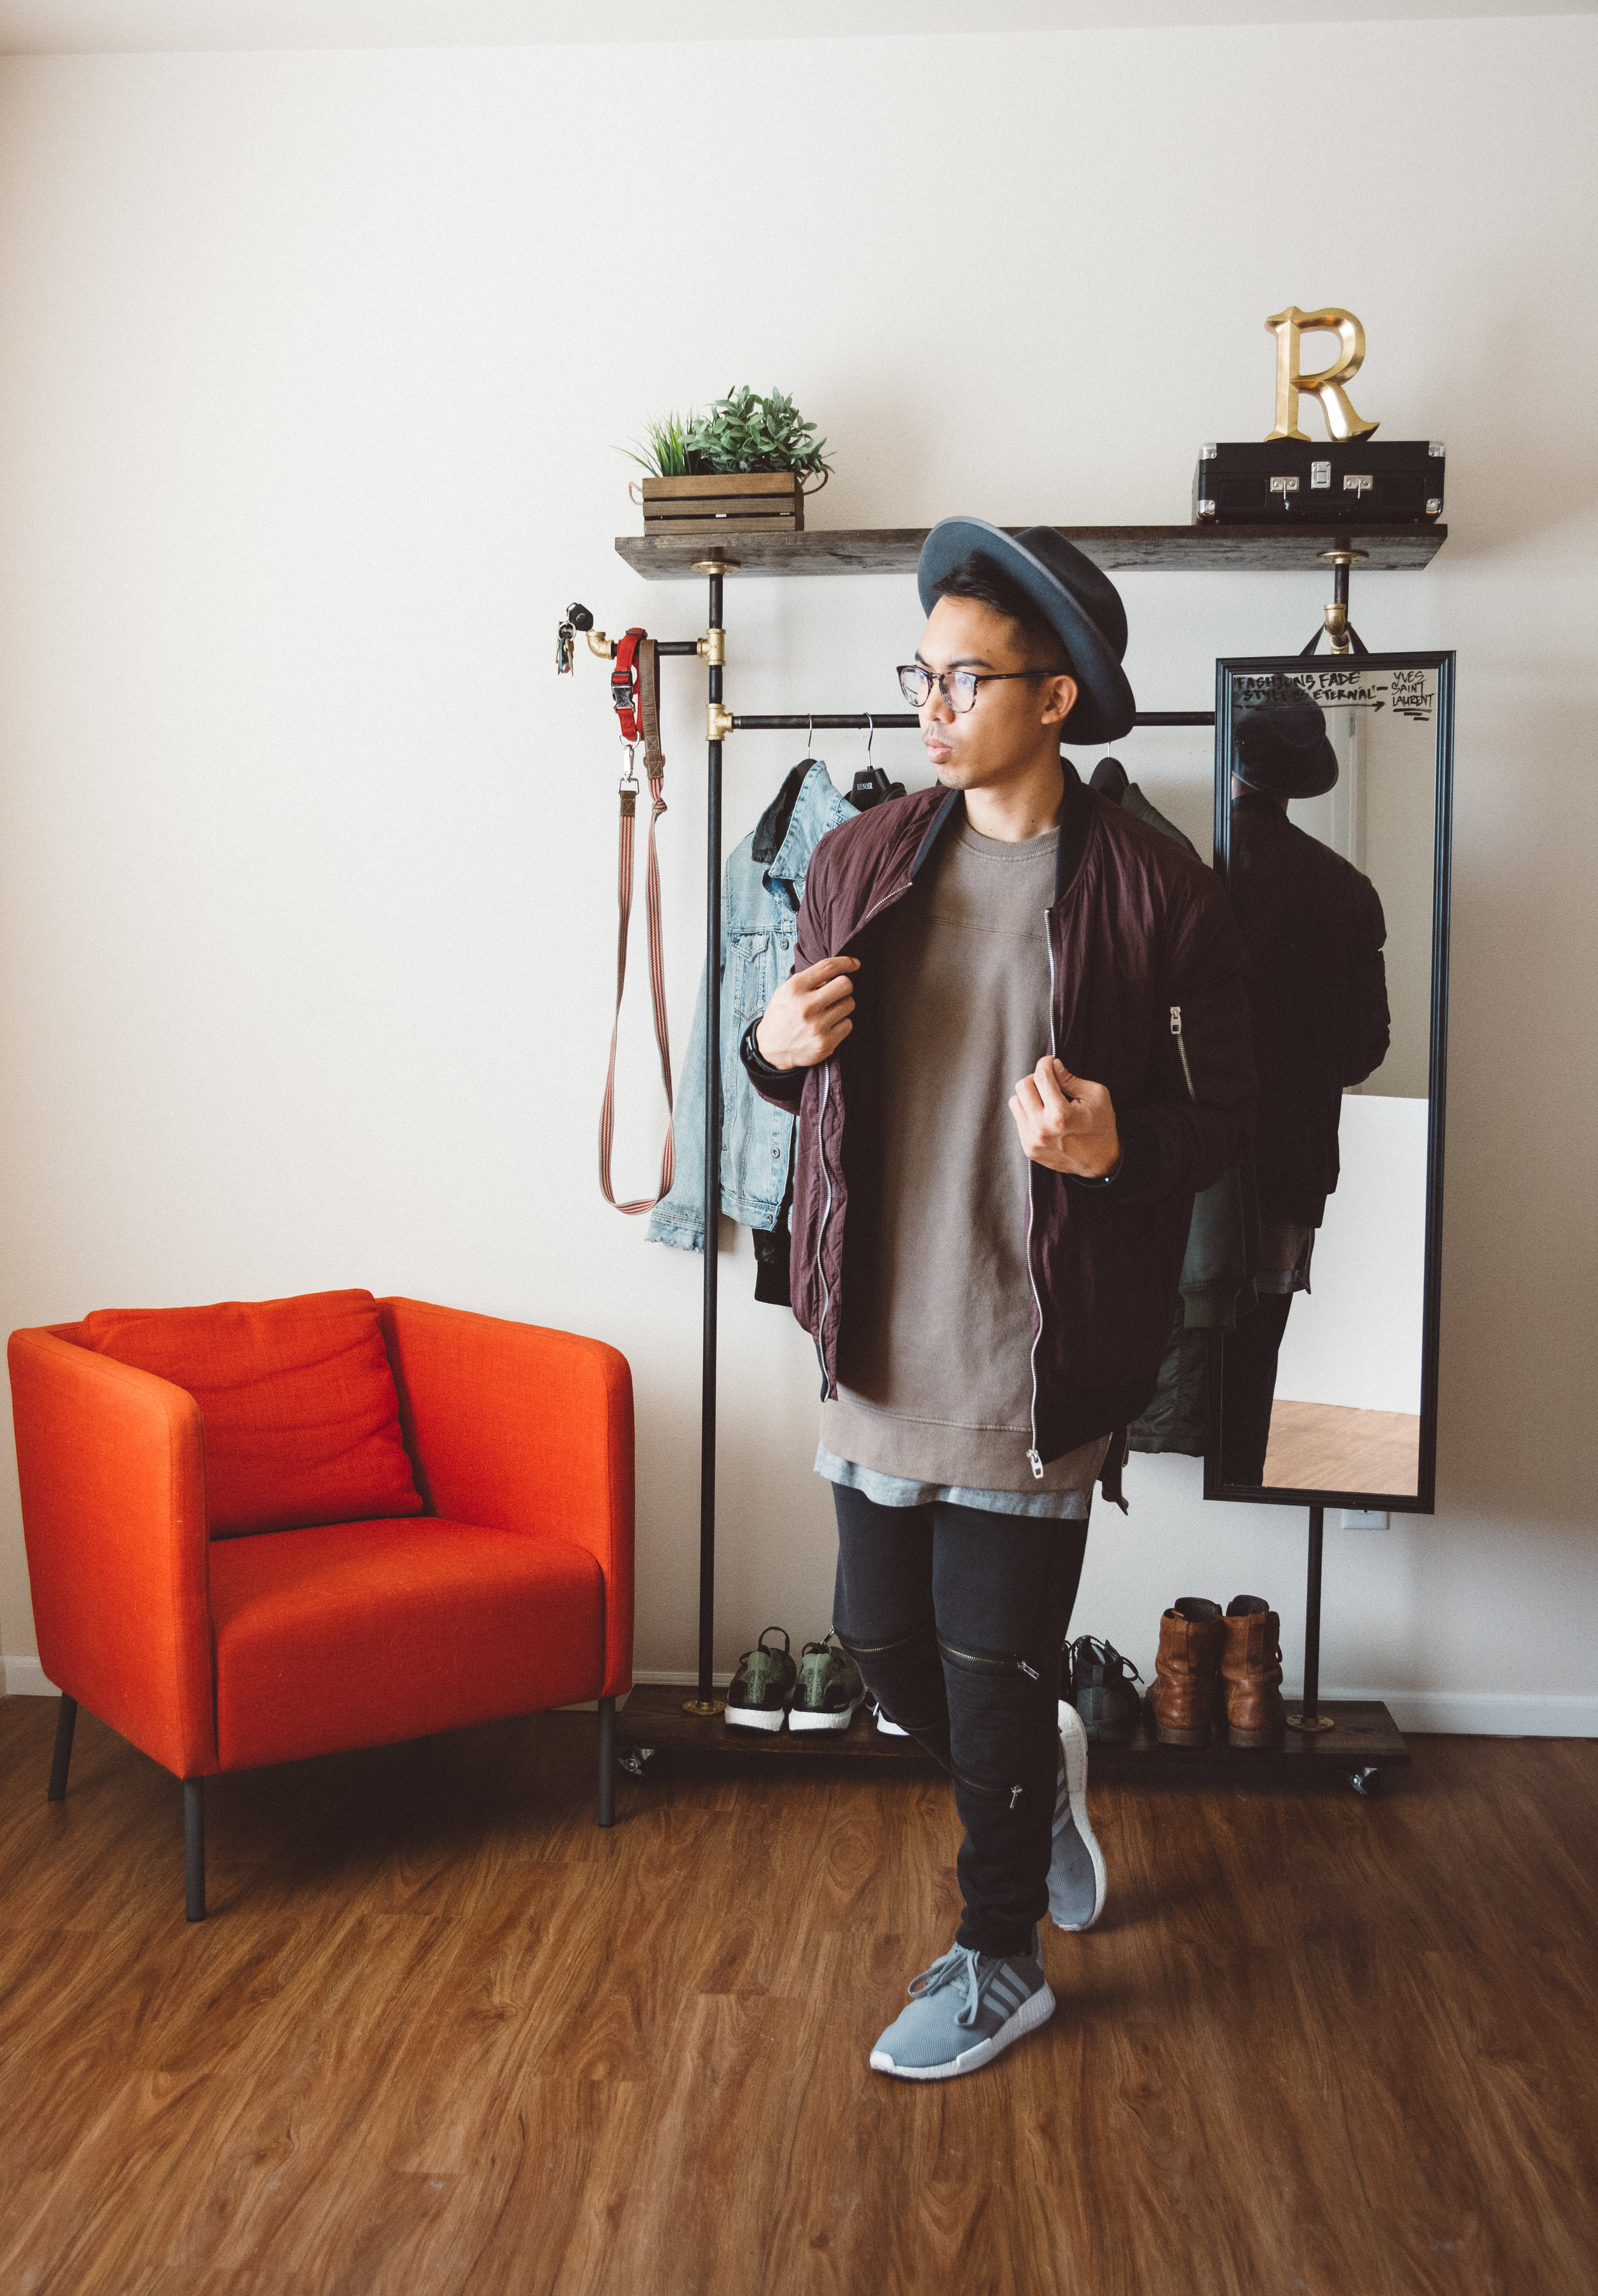
My favorite part is adding my personal style with some decor and details. Top of my list was to add a mirror because I always want to make sure I look well for work and fresh on the weekends! Hopefully, this DIY has challenged you to make a garment rack of your own and if you do decide to make one, I would like to see your personal take on it. Enjoy!